SesameOS3 Android
Android Web App host and standalone Sesame BLE SDK. Biz3 owns pages, accounts and cloud business logic; Android supplies WebView, Bluetooth and platform capabilities.
Biz owns business logic, Android provides native capabilities, and Bridge handles communication.
flowchart LR
  Biz[Biz3 React UI / Business] <-->|MessagePort| App[sesameApp Android]
  App --> SDK[sesameSdk BLE]
  SDK <--> Device[SESAME]
  App --> DB[(Room keys)]
  Biz <-->|WebSocket| AWS[Cloud services]
Public SDK integration
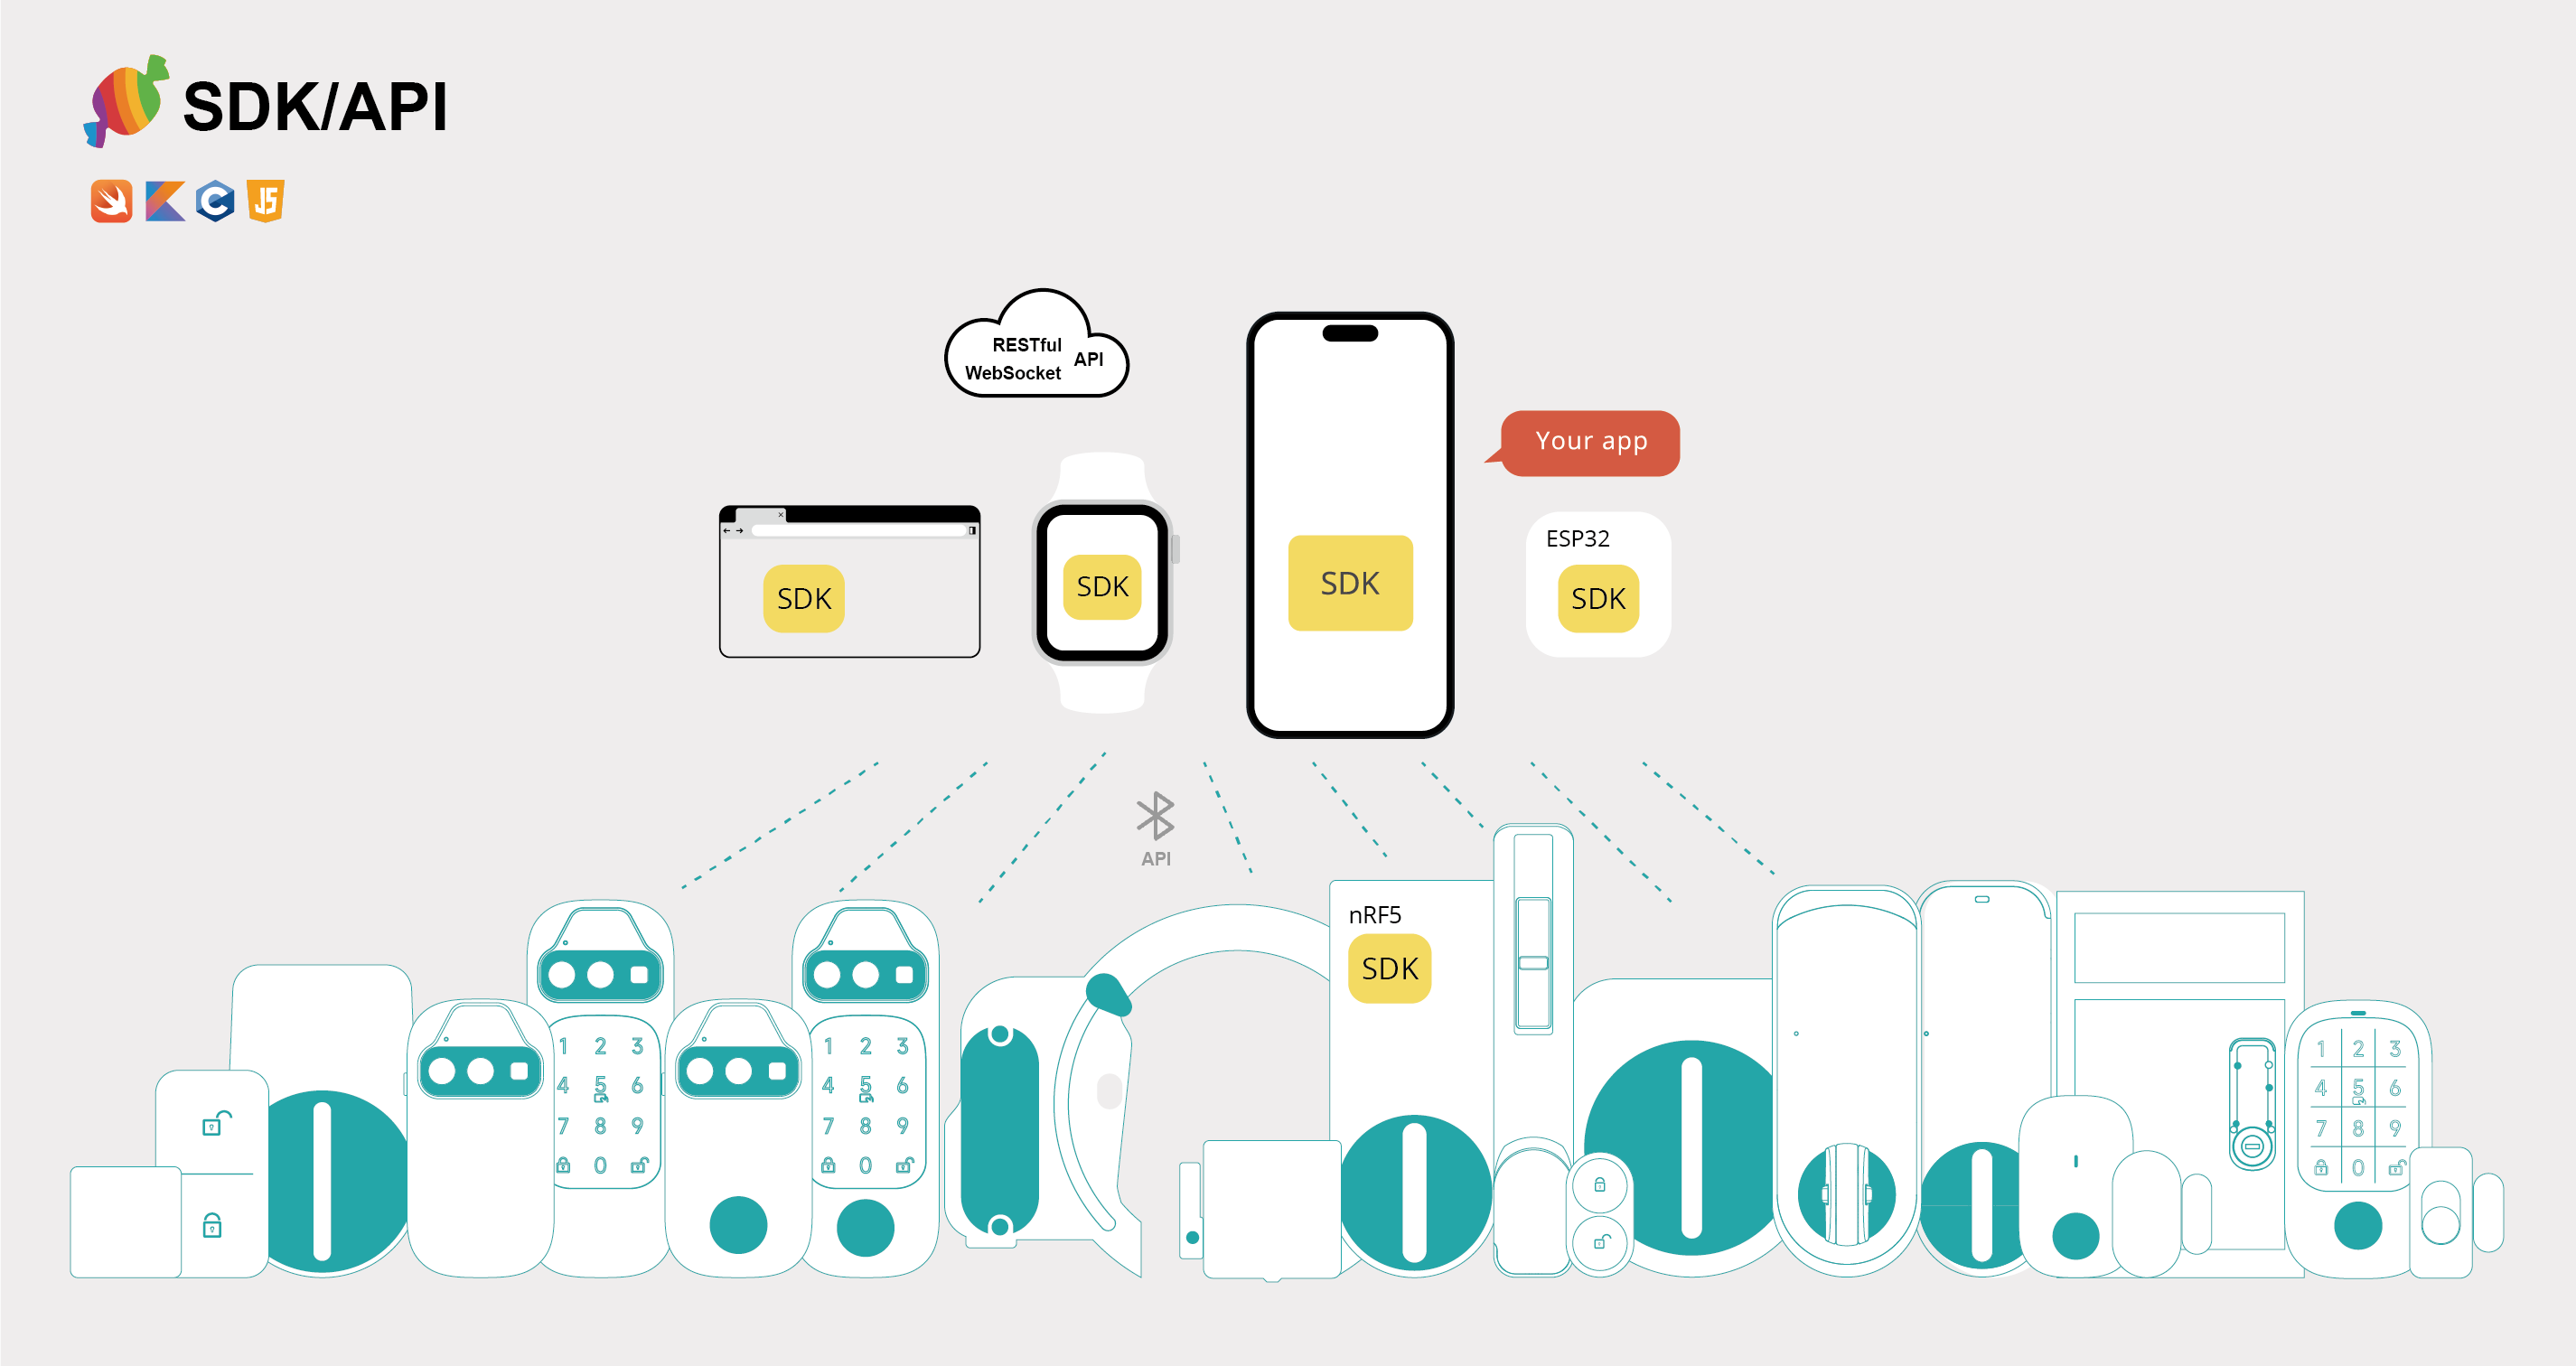
Integrate sesameSdk into your Android application for BLE discovery, connection, registration, device control and status callbacks. Biz and Web App integration are not required. Your application chooses its UI, accounts, backend and storage.
Build the source with Android Studio and the repository Gradle wrapper. gradle/gradle-daemon-jvm.properties selects JDK 21 for the Gradle daemon; both modules use Java 17 source and bytecode compatibility. compileSdk is 36, application targetSdk is 36, and minSdk is 24.
1. Add the dependency
dependencies {
    implementation project(':sesameSdk')
}
To use JitPack, add the repository in settings.gradle:
dependencyResolutionManagement {
    repositories {
        google()
        mavenCentral()
        maven { url 'https://jitpack.io' }
    }
}
Then add the SDK dependency in the application’s build.gradle:
dependencies {
    implementation 'com.github.CANDY-HOUSE.SesameSDK_Android_with_DemoApp:sesameSdk:<version>'
}
Replace <version> with the desired release tag. Use the version and module coordinates listed on the JitPack page; tags are available in Releases.
2. Permissions
The SDK manifest declares Bluetooth permissions. The current CHBleManager.enableScan checks ACCESS_FINE_LOCATION on every supported Android version, so the host must declare and request it. Android 12 (API 31) and later also require BLUETOOTH_SCAN and BLUETOOTH_CONNECT. This is a requirement of the current SDK implementation; location permission is not limited to older Android versions. Start scanning after permissions are granted and Bluetooth is enabled.
3. Initialize
Initialize CHBleSupport and CHBleManager in your Application. backend implements CHBleHost for registration, restricted-key signing and device-data callbacks. keyStore implements CHKeyPersistence to save and delete keys; gatewayTenantId identifies the gateway tenant. The SDK does not prescribe a backend provider, transport or database. See CHBleSupport.kt for the interfaces.
CHBleSupport.initialize(backend, keyStore, gatewayTenantId)
CHBleManager(applicationContext)
4. Discover, connect and register
Display unregistered devices from the discovery callback. Connect to the device selected by the user and register after it reaches ReadyToRegister. Registration keys are saved through CHKeyPersistence.
import co.candyhouse.sesame.ble.*

CHBleManager.delegate = object : CHBleManagerDelegate {
    override fun didDiscoverUnRegisteredCHDevices(devices: List<CHDevices>) {
        // Display discovered devices for the user to select.
    }
}
CHBleManager.enableScan { result ->
    result.onFailure { /* Handle permission or Bluetooth errors. */ }
}

fun registerDevice(device: CHDevices) {
    var registering = false
    device.delegate = object : CHDeviceStatusDelegate {
        override fun onBleDeviceStatusChanged(device: CHDevices, status: CHDeviceStatus) {
            if (status == CHDeviceStatus.ReadyToRegister && !registering) {
                registering = true
                device.register { result ->
                    result.onSuccess { /* Registration completed. */ }
                    result.onFailure { /* Handle registration failure. */ }
                }
            }
        }
    }
    device.connect { result ->
        result.onFailure { /* Handle connection failure. */ }
    }
}
5. Restore keys and control devices
Read a CHDevice from your own storage (savedKey below), restore it with restoreDevice, and assign a CHDeviceStatusDelegate (statusDelegate below) for connection and mechanical-state updates. Keep scanning enabled and wait for BLE authentication before sending commands.
val device = CHBleManager.restoreDevice(savedKey)
device?.delegate = statusDelegate
device?.connect { result ->
    result.onFailure { /* Handle connection failure. */ }
}

// After BLE authentication completes, for a CHSesame5-compatible device:
(device as? co.candyhouse.sesame.ble.os3.sesame5.CHSesame5)?.toggle { result ->
    result.onFailure { /* Handle command failure. */ }
}
Use the interface for the actual device: CHSesame5 for compatible locks, or the relevant Bike, Bot, Biometric or Hub interface. Full keys support offline BLE operation; restricted-key authentication requires a signing service. Call CHBleManager.disableScan when scanning is no longer needed.
Project structure
| Module / path | Responsibility |
|---|---|
sesameApp |
Android application: WebView host, BLE bridge and platform capabilities |
sesameSdk |
Standalone BLE SDK: discovery, connection, registration, control and status callbacks |
sesameSdk/src/main/java/co/candyhouse/sesame/ble |
Public device interfaces, product models and BLE management |
sesameSdk/src/main/java/co/candyhouse/sesame/ble/os3 |
Sesame OS3 protocols and device implementations |
sesameApp/src/main/java/co/candyhouse/app/data |
Application-side key persistence |
app.properties |
Shared application configuration and Web App environment URLs |
OS3 device architecture
flowchart TB
    Devices[CHDevices]

    Devices --> Lock[CHSesameLock]
    Lock --> LockBase[CHSesameOS3LockBase]
    LockBase --> S5[CHSesame5Device]
    LockBase --> Bike2[CHSesameBike2Device]
    Bike2 --> Bike3[CHSesameBike3Device<br/>+ Fingerprint capability]
    LockBase --> Bot2[CHSesameBot2Device]

    Devices --> Connector[CHSesameConnector]
    Connector --> Bio[CHSesameBiometricDevice]
    Bio --> BioImpl[CHSesameBiometricDeviceImpl<br/>Capabilities by product profile]

    Devices --> Gateway[CHWifiModule2]
    Gateway --> Hub[CHHub3 / CHHub3Device]
Supported products
The supported product range is defined by CHProductModel and grouped below by the actual Device implementation.
| Device implementation | Products |
|---|---|
CHSesame5Device |
Sesame 5, Sesame 5 Pro, Sesame 5 US, Sesame 6, Sesame 6 Pro, Sesame 6 Pro SlidingDoor, Sesame miwa, BLE Connector 1 |
CHSesameBike2Device |
Sesame Bike 2 |
CHSesameBike3Device |
Sesame Bike 3 (with fingerprint capability) |
CHSesameBot2Device |
Sesame Bot 2, Sesame Bot 3 |
CHSesameBiometricDeviceImpl |
Open Sensor 1/2, Remote, Remote Nano, Sesame Touch 1/1 Pro/2/2 Pro, Sesame Face 1/1 Pro/1 AI/1 Pro AI/2/2 Pro/2 AI/2 Pro AI/3 |
CHHub3Device |
Hub 3, Hub 3 Pro |
No longer maintained: Sesame 3 (
SS2), WiFi Module 2 (WM2), Sesame Bot 1, Sesame Bike 1, and Sesame 4 (SS4). These legacy models remain inCHProductModelwith their implementations; they are not listed in the OS3 table above.
Biometric capabilities
CHSesameBiometricDeviceImpl assembles capabilities based on each product profile.
| Product family | Capabilities |
|---|---|
| Touch | Card, fingerprint |
| Touch Pro | Card, fingerprint, passcode |
| Face | Card, fingerprint, palm, face |
| Face Pro | Card, fingerprint, passcode, palm, face |
| Face AI | Palm, face |
| Face Pro AI | Passcode, palm, face |
Related APIs: CHCardCapable, CHPassCodeCapable, CHFingerPrintCapable, CHPalmCapable, CHFaceCapable, and CHRemoteNanoCapable.
Internal development
Keep shared project configuration in app.properties, loaded by the root build.gradle and managed in the private repository. Use ignored local.properties only for developer-specific settings such as sdk.dir. Use your Firebase configuration in sesameApp/google-services.json.
aws.cognito.identityPoolId=<YOUR_IDENTITY_POOL_ID>
aws.cognito.userPoolId=<YOUR_USER_POOL_ID>
aws.cognito.appClientId=<YOUR_APP_CLIENT_ID>
google.maps.apiKey=<YOUR_MAPS_KEY>
candyhouse.sesame.web.dev=http://localhost:3000
candyhouse.sesame.web.prod=https://biz.candyhouse.co
candyhouse.sesame.web.dev selects the Debug page URL; candyhouse.sesame.web.prod selects the Release/CI page URL. These settings select the Biz staging or production environment independently of the Android branch name. The Biz staging branch can be deployed independently; production is https://biz.candyhouse.co. Rebuild Android after changing its page URL.
The current Release/CI URL in app.properties still points to staging, not the production domain.
Run these in two terminals, each starting at the Web APP root. Keep the Biz dev server running:
# Terminal 1: Biz3
cd Biz3
nvm use
yarn install --frozen-lockfile
yarn dev
# Terminal 2: Android
cd SesameOS3_Android
adb reverse tcp:3000 tcp:3000
./gradlew :sesameApp:assembleDebug
Responsibilities
Biz implements business rules, state management, page interactions and cloud requests. Android provides WebView, BLE, permissions, persistence and platform capabilities. Bridge validates trusted origins and carries requests, responses and events without owning business logic.
flowchart TB
  Activity[SesameActivity lifecycle] --> Bridge[WebViewBridge trusted origin]
  Activity --> QR[QrScanner camera / gallery]
  Bridge --> Handler[NativeRequestHandler]
  Handler --> BLE[BleController / Registration]
  Handler --> Platform[NFC / Push / AutoUnlock / Firmware]
  BLE --> Backend[BleBackend]
  Backend --> Biz[Biz WebSocket runtime]
Amplify Auth remains for legacy session handoff; core-kotlin supplies the suspend APIs currently used. There is no Amplify API plugin. The background WebView reuses Biz cloud transport; native components handle NFC, notifications, auto-unlock, firmware transfer and scanning.
Startup and offline operation
flowchart LR
  Start[Cold start] --> Page{Network HTML available?}
  Page -->|Yes| Online[Latest Biz page]
  Page -->|No| Cache[Previously cached page]
  Online --> Local[Local device list / BLE]
  Cache --> Local
  Local -->|Cloud ready| Cloud[Updated device list]
The APK contains no Biz page bundle. A Service Worker loads HTML from the network first and publishes the cached entry after its assets are cached successfully. Offline starts reuse that page. A first installation, new origin or cleared WebView storage needs one online visit. The OS may evict caches; a never-online start is not guaranteed.
Offline devices come from the local database, without waiting for Cognito or WebSocket. offlineDevices returns only names, models, UUIDs and permission levels, without keys. Online registration, key synchronization/sharing and restricted-key signing still pass required key material through the trusted Bridge; the offline-list restriction does not mean keys never pass through Biz. A complete online list updates local visibility so signed-out accounts do not reappear; pending keys survive. Restricted keys still require online signing. Cloud actions, registration and firmware downloads need connectivity.
An in-place update with the same applicationId, compatible signing and permitted versionCode preserves the database and preferences unless data is cleared. LegacySession bridges previous logins; KeyHandoff queues guest keys for synchronization.